

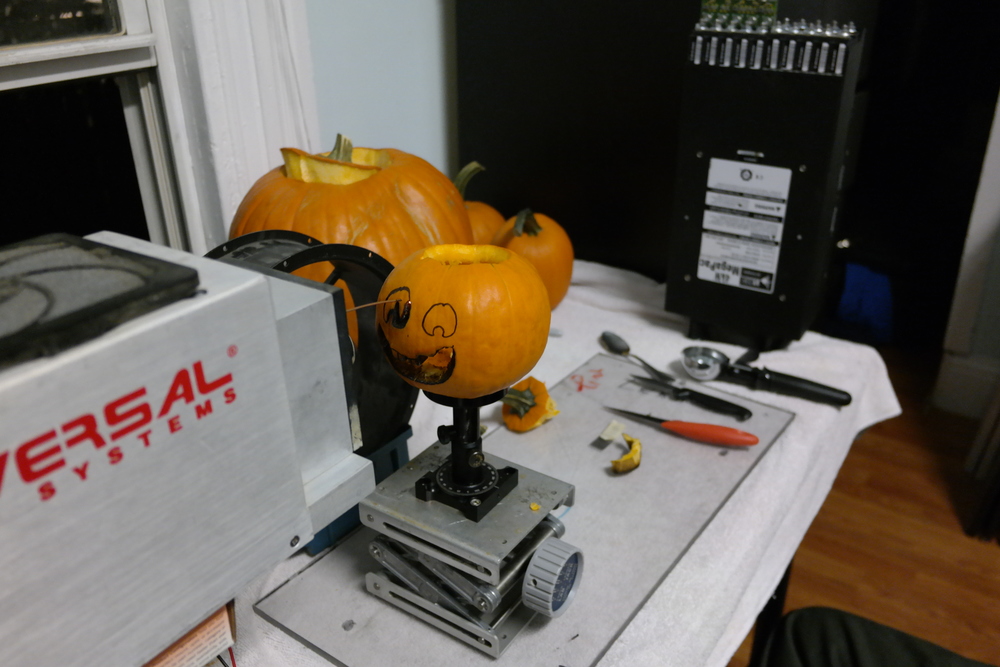
Due to the thickness of the pumpkin (10+mm) and high water content, the cutting was slow and the edge was not great, but we were able to cut all of the way through at 50-100mm/min linear velocity. I put up a short clip of Andrew cutting his pumpkin on youtube. With careful compensation of the kerf it was possible to get reasonably accurate shapes, but fine features were not really feasible due to he large kerf (~5mm) and poor edge quality. One other issue we ran into was baskside cutting of the pumpkin, because we were not using a focusing lens the beam cut the back of the pumpkin just as well as the front, so if the pumpkin remained stationary for too long the laser would cut clean through the back.
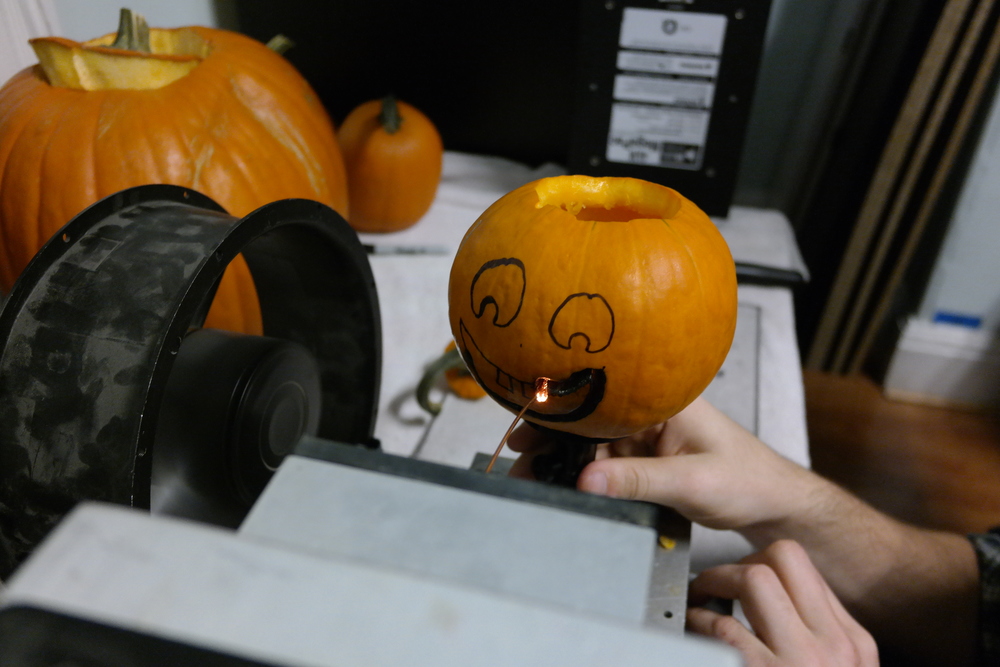
I did a bit of experimenting with different focal length lenses, but did not have much success in reducing the kerf or boosting the cut speeds. The limiting factor really seemed to be the thickness of the pumpkin and tendency to burn/char instead of cutting cleanly. Possible improvements moving forward include thinning the pumpkin or trying an air assist setup. Failing that we will just have to move to a laser with a bit more punch...
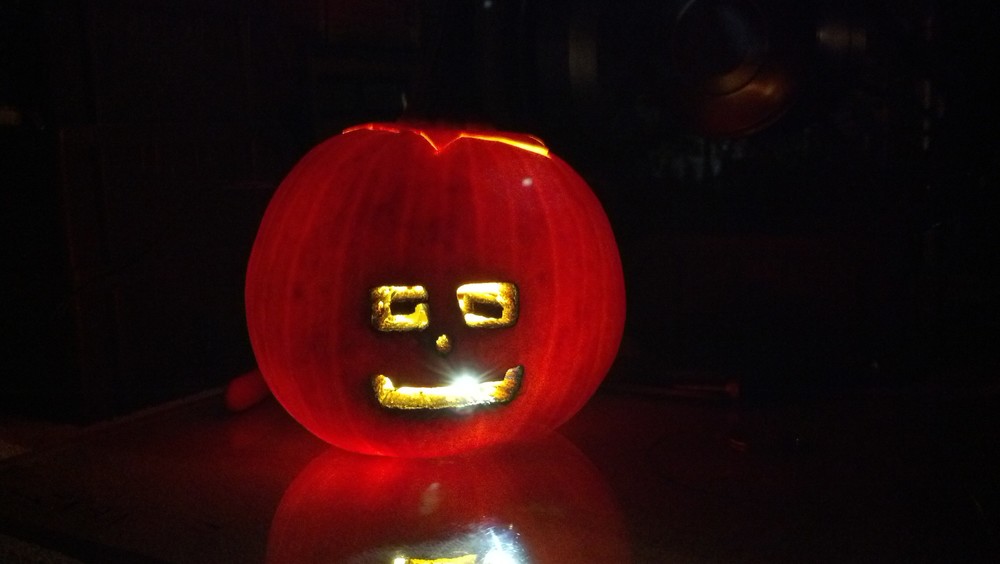
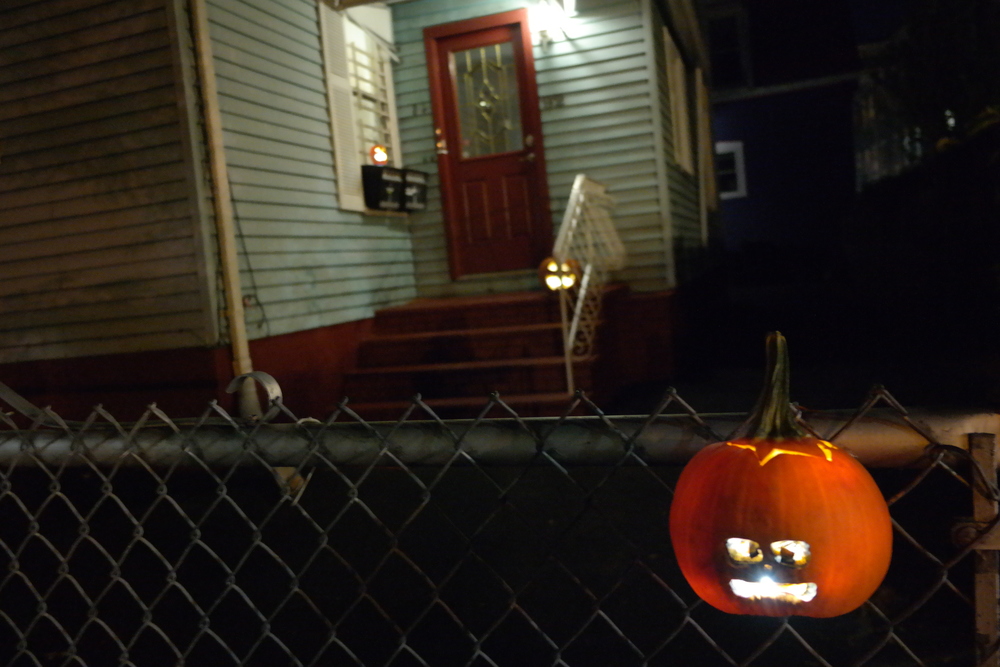
All considered the project was a reasonable success and did produce viable jack-o-lanters. The edges looked 'different' than normal knife/saw cut pumpkins since they were heavily charred, but after adding some LEDs to light them up the pumpkins looked passable.